
Use warm-white or red LED lights in your chicken coop to give your flock steady, low-stress illumination. Keep brightness moderate, avoid harsh blue tones, and use dimmers or multiple low-watt fixtures for even coverage. Set timers so lights turn on and off at consistent times, and adjust them gradually with the seasons. Place fixtures safely out of pecking range, clean them often, and watch your birds’ behavior for clues that can help you fine-tune the setup.
How LED Light Affects Chickens
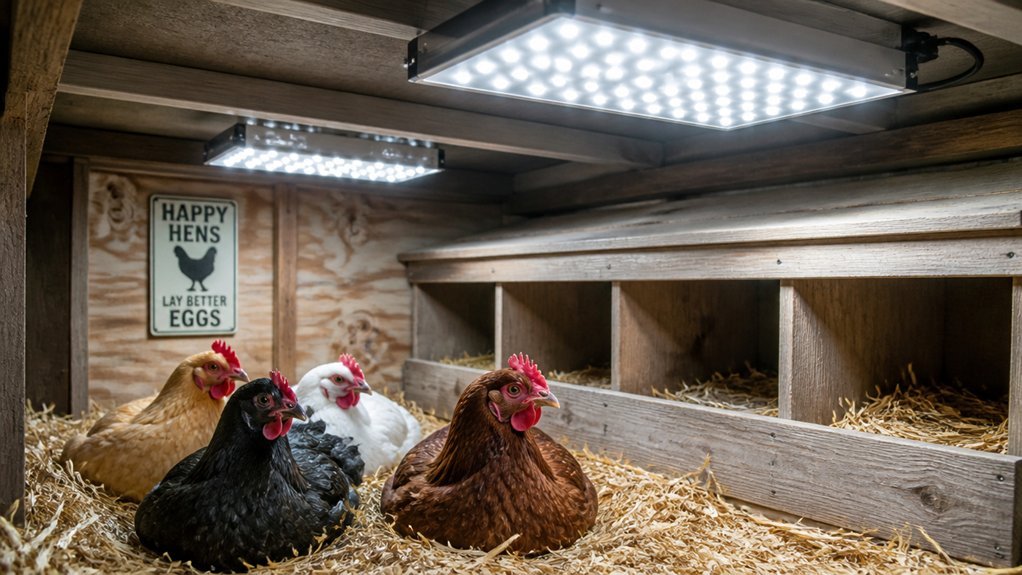
When you use LED lights in a chicken coop, you can influence how active, calm, and productive your flock is. Bright light often keeps chickens alert, helping them eat, move, and lay eggs more consistently. Dimmer light can encourage rest, reduce stress, and support a quieter coop. You can also use timed lighting to mimic longer daylight hours in winter, which may help maintain egg production. Incorporating full spectrum lighting can provide a more natural light environment that benefits flock health. Sudden changes in brightness can startle birds, so you should switch lights gradually when possible. LEDs give you steady illumination without much heat, so you can manage the coop more safely.
Choose the Best LED Color for Chickens
Which LED color works best in a chicken coop? You’ll usually get the best results with warm white or red light, depending on your goal.
Warm white LEDs can help you see clearly while keeping the coop calm and natural-looking. They’re a good choice for daily chores and evening routines.
Warm white LEDs make coop chores easier while keeping the space calm and natural-looking.
Red LEDs can also support a restful atmosphere because chickens react less strongly to red wavelengths. If you want to reduce stress during nighttime checks, red is often the safer pick.
Avoid harsh blue or cool white tones, since they can feel too stark and may unsettle your flock.
Choose one color and keep it consistent so your chickens adjust more easily. Your birds do best when the lighting feels steady, familiar, and easy on their eyes.
Using appropriate lighting can also help minimize disturbances and support your flock’s overall health and well-being.
Pick the Right Brightness for Your Coop
Start by measuring your coop’s square footage so you can match the LED brightness to the space. You’ll want enough light to keep the coop comfortable and visible without making it harsh or stressful for your hens. Using predator deterrent lights with the right coverage area can enhance security and keep predators at bay. As your flock ages, adjust the intensity so the lighting fits their needs and routine.
Measure Coop Square Footage
Before you choose an LED bulb for your chicken coop, measure the square footage so you can match the brightness to the space. Grab a tape measure and calculate length times width for each section your birds use.
If your coop has a roosting area, nesting box corner, or enclosed run, note those dimensions separately. This gives you a clear size map, so you can select fixtures that fit the area without guessing.
Smaller coops need less light output than larger ones, and exact measurements help you avoid waste. Write the numbers down, then compare them with the bulb’s lumen rating and coverage guidance.
When you know the footprint, you can place lighting more confidently and keep the coop evenly lit. Using LED lighting that is designed to provide safe warmth and consistent illumination helps protect your flock and promotes healthy activity.
Balance Light Intensity
Now that you know your coop’s square footage, you can match the light level to the space instead of guessing. Choose an LED that spreads light evenly so birds can move, eat, and roost without harsh glare.
Aim for enough brightness to see clearly inside the coop, but don’t flood the space with a stadium-like beam. If one fixture leaves corners dim, add another low-watt LED instead of increasing intensity too much.
Use a diffuser or frosted lens when the light feels sharp, because soft light reduces stress and keeps the flock calmer. Test the setup at bird level, not just from the doorway, and adjust until the whole coop feels comfortably lit.
A balanced glow works better than a single overly bright source. Proper placement and consistent airflow ensure optimal conditions for healthy, stress-free chickens.
Adjust For Hen Age
You’ll want to adjust brightness based on your hens’ age, because chicks, pullets, and mature layers don’t need the same light level. Use softer light for young birds so they can rest and grow without stress, then increase brightness gradually as they mature. Properly selecting the right heat output control can help you fine-tune the light intensity effectively.
Adult layers usually do best with steady, moderate light that supports egg production without overstimulating them. Keep lights consistent each day, and avoid sudden jumps in intensity that can disrupt behavior.
Check how your flock responds, then fine-tune the setup.
- Chicks need gentle, low light
- Pullets benefit from gradual increases
- Layers prefer moderate, stable brightness
- Too much light can cause stress
- Watch flock behavior and adjust quickly
Set a Safe Chicken Coop Lighting Schedule

A safe chicken coop lighting schedule keeps your flock productive without stressing their bodies or disrupting natural rest. You should turn lights on and off at consistent times, then keep nights dark enough for hens to sleep. Use timers so you don’t create sudden changes, and avoid adding light too late in the evening. Aim for gradual adjustments when seasons shift. Implementing a stable light pattern also helps prevent disruption of natural behaviors.
| Time | Action | Purpose |
|---|---|---|
| 5:30 a.m. | Lights on | Gentle wake-up |
| 6:00 a.m. | Full brightness | Stable routine |
| Sunset | Lights off | Natural wind-down |
| Night | Dark period | Rest and recovery |
| Weekly | Review schedule | Check flock response |
Watch your birds for restlessness or crowding, and shorten changes if they seem unsettled.
How LED Lights Can Support Egg Laying
Because hens respond to light as a cue for their internal clocks, LED lighting can help support consistent egg laying by extending daylight during darker months.
You can give your flock a steady, gentle light that helps maintain normal laying routines without stressing them. Keep the light even and predictable, so hens don’t get sudden changes that can disrupt productivity.
- Use low-glare bulbs to keep the coop calm
- Place lights where hens can’t peck or reach them
- Keep the schedule consistent every day
- Choose timers so you don’t forget adjustments
- Watch your flock’s response and fine-tune as needed
When you manage light carefully, you help your hens stay comfortable while encouraging regular egg production. Properly light the coop, ensuring your hens receive the right intensity and duration of light, further supports their natural rhythms.
Why Winter Coop Lighting Matters
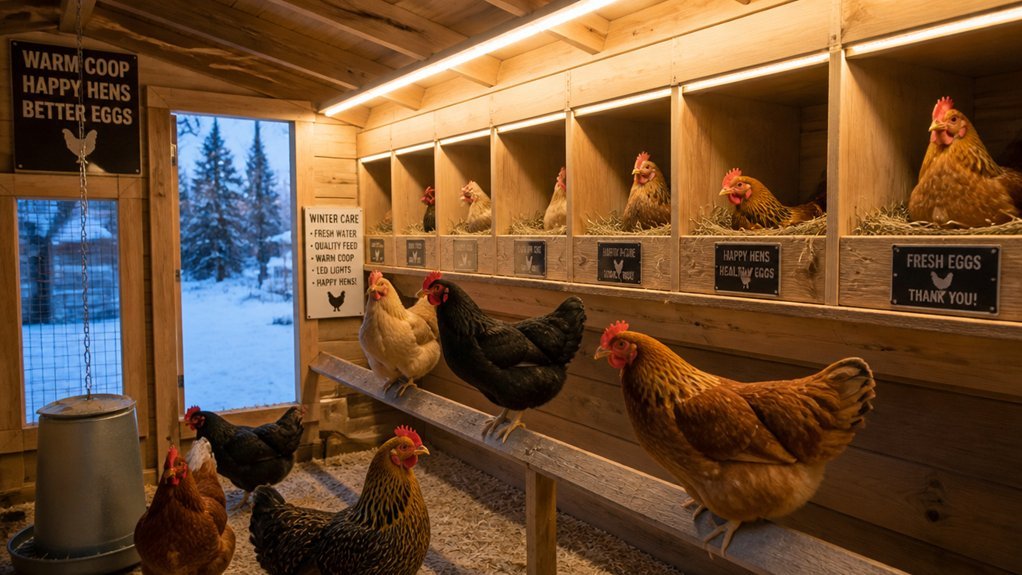
Winter brings shorter days, and that drop in natural light can affect your hens’ daily rhythms, comfort, and egg production. When dusk arrives too early, your flock may settle sooner, eat less, and become less active. A dim coop can also make it harder for you to spot signs of stress or illness.
Weatherproofing the coop with appropriate lighting ensures your flock remains comfortable and their routine stays consistent regardless of outdoor conditions.
| Winter cue | What you may notice |
|---|---|
| Early dusk | Hens roost sooner |
| Fewer hours of light | Reduced activity |
| Cold mornings | Slower starts |
| Dim coop | Harder inspections |
| Short days | Lower laying consistency |
With steady lighting, you help your birds keep a more regular routine through the season. That stability supports better behavior, easier care, and a smoother winter egg supply.
Install LED Lights in a Chicken Coop
When you’re ready to install LED lights in a chicken coop, start by choosing fixtures made for damp, dusty spaces and placing them where they’ll spread light evenly without shining directly into your hens’ roosting area.
Choose damp-rated fixtures and place them to give even light without disturbing your hens’ roosting area.
Turn off power before you work, then mount the lights securely to studs or framing with corrosion-resistant hardware. Run protected wiring through conduit, and keep cords out of reach of curious beaks and claws. Use a timer or switch you can access easily, so you can control the schedule without stressing the flock.
- Check voltage and bulb ratings
- Seal openings against moisture
- Keep wiring tidy
- Test the setup at night
- Inspect fittings regularly
- Select weatherproof fixtures to ensure weather resistance and durability over time
Place Coop LEDs for Even Coverage

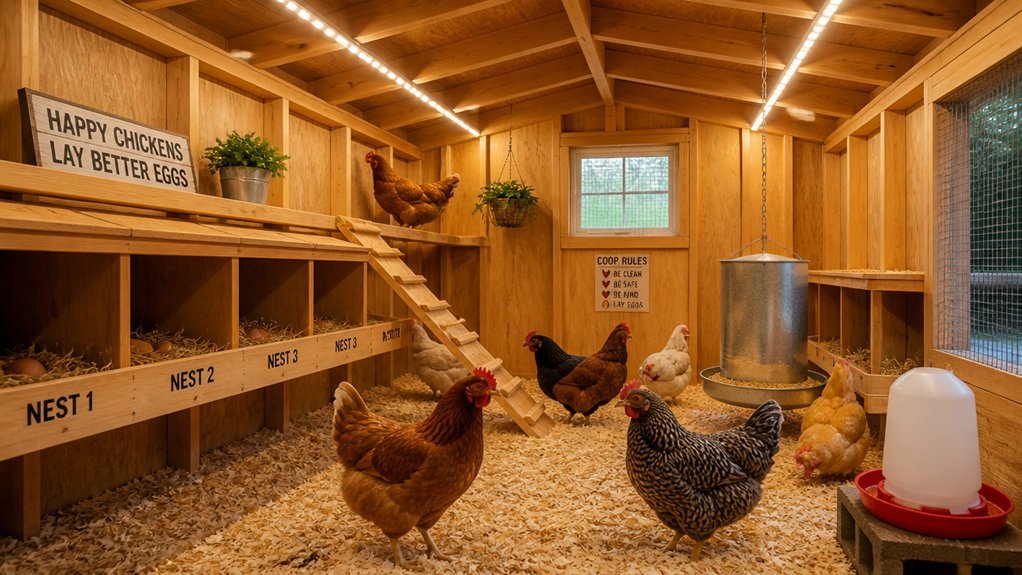
For the best coverage, space your LED fixtures so light reaches every part of the coop without creating harsh glare or dark corners. Aim for balanced placement above roosts, near feeders, and along walking paths so your chickens can move comfortably. You’ll get smoother light when you stagger fixtures instead of clustering them in one spot. Check how shadows fall at different times of day, then adjust the layout until the whole coop feels evenly lit.
| Area | Placement tip |
|---|---|
| Roosts | Position lights to reduce shadowed perches |
| Feeders | Place fixtures nearby for clear visibility |
| Corners | Add light so no area feels dim or ignored |
Wire Chicken Coop LEDs Safely
Because poultry spaces can be damp and dusty, you need to wire coop LEDs with extra care. Use low-voltage fixtures rated for indoor-outdoor use, and keep all connections off the floor.
Run cables through conduit or protective tubing, then fasten them so hens can’t peck or tug them loose. Choose a grounded outlet and a weatherproof plug cover near the coop entrance. Seal wire entry points to block moisture and debris.
Before you switch anything on, inspect each splice and test for heat, flicker, or exposed copper.
- Use UL-listed LED components
- Match wire gauge to the load
- Protect every junction with a box
- Keep cords out of bedding
- Shut off power before repairs
Add a Timer to Your Coop Lights
A timer takes the guesswork out of coop lighting by turning the LEDs on and off at set times, so your birds get a steady routine even when your schedule changes. Choose a timer rated for outdoor use and match it to your LED wattage.
Plug the lights into the timer, then set a consistent schedule that fits your flock’s needs and your evening chores. You’ll save energy, reduce manual switching, and keep lighting predictable for the hens.
Check the timer regularly to confirm it still keeps time and hasn’t loosened at the outlet. If you use multiple coop lights, connect them to the same timer so they work together.
A simple programmable timer makes flock care easier and helps you stick to a dependable routine.
Balance Coop LEDs With Daylight
Even with LED lighting, your coop should still follow the natural daylight cycle as much as possible, so use artificial light only to fill gaps rather than replace the sun. Let daylight guide your lighting schedule, then let LEDs gently extend usable hours when mornings or evenings run short.
You’ll help your flock stay calm and keep routines steady by matching light to natural cues.
- Open curtains or vents during daylight.
- Place fixtures where sunlight fades first.
- Use low-wattage LEDs for support.
- Switch lights off once daylight returns.
- Adjust seasonally as daylight changes.
This balance keeps the coop feeling natural while still giving you control.
When you work with the sun, your birds adapt more easily, and your lighting setup stays simple, efficient, and dependable.
Avoid Overlighting Your Chickens
You need to keep your coop lighting balanced so your chickens get enough light without being overwhelmed.
Too much brightness can stress them, disrupt their routine, and make the coop feel harsh. Use LEDs carefully to support healthy light exposure and keep your flock comfortable.
Balanced Light Exposure
Balanced light exposure matters just as much as light color or timing, because too much artificial light can stress chickens, disrupt their natural rest, and lead to poor behavior or reduced productivity. You should aim for steady, moderate lighting that supports daily routines without flooding the coop.
Use LEDs to provide enough visibility for feeding, cleaning, and egg checks, but don’t leave them brighter than needed.
- Keep light levels consistent
- Match brightness to coop size
- Use dimmers when possible
- Limit exposure time
- Watch how your flock responds
When you balance light properly, you help chickens stay calm, settle at night, and follow natural rhythms. That balance supports healthier habits and a more manageable coop environment.
Prevent Stress From Brightness
Too much brightness can make chickens restless, so keep LED lighting soft enough to support daily tasks without turning the coop into a floodlit space. Use dimmable bulbs or warm-white LEDs to create a calm, natural feel.
You should light only the areas you need for checking feed, water, and birds, not the entire coop all night. If you notice pacing, pecking, or refusal to settle, your lighting may be too intense.
Lower the wattage, shorten the runtime, or shield the bulbs with diffusers. Aim for gentle illumination that lets you work safely without disrupting roosting behavior.
When you match light levels to your flock’s needs, you reduce stress and help your chickens stay healthier, quieter, and more comfortable every day.
Keep Chicken Coop LEDs Clean
Dust, feathers, and moisture can quickly coat coop LEDs, so wipe them down regularly to keep their light bright and efficient. Use a dry microfiber cloth first, then a lightly damp one if grime sticks. Always switch off power before cleaning, and let fixtures cool before you touch them.
Check housings, covers, and mounting spots for buildup that can trap dirt or harbor pests. Clean LEDs during your normal coop chores so you don’t forget them. If you notice corrosion, replace damaged parts promptly.
- Wipe lenses gently
- Remove dust from vents
- Dry surfaces completely
- Inspect for cracks
- Clean after messy weather
Cut Energy Costs With LED Coop Lights
Once your coop LEDs are clean, they can do their job without wasting power. You can cut energy costs by choosing fixtures with low wattage and high output, so you get bright light without running up the bill.
Use timers or a simple schedule to keep lights on only when you need them. If you’re lighting the coop for early mornings or winter evenings, set the shortest effective run time instead of leaving lights on all night.
Pick LED bulbs with long lifespans, too, because replacements add up over time. Seal gaps around wiring and use weather-rated fixtures so moisture doesn’t force you to replace parts early.
When you match light level, timing, and durability, you lower electricity use and keep your coop efficient all year long.
Solve Common Chicken Coop Lighting Problems
You can fix dim coop corners by adding lights where shadows build up, so every bird gets even coverage.
You’ll also want to soften harsh glare with diffused fixtures or better placement, which keeps the coop comfortable.
If your light timing keeps changing, set a simple schedule and check it often so your hens stay on track.
Fixing Dim Coop Corners
If a corner of the coop stays shadowy, chicks may avoid it and hens may crowd elsewhere, so start by checking where light falls at dawn, dusk, and on cloudy days.
You can solve dim spots by adding a small LED strip or puck light near the roofline, then aiming it toward the darkest wall. Keep wiring tidy and out of pecking range. Use a warm, low-watt fixture so birds still rest well. Clean dusty covers often, because grime steals brightness. Test the setup after sunset and adjust until the whole coop looks evenly lit.
- Add a second light if one fixture can’t cover the space
- Mount lights higher for broader spread
- Reflect light off pale surfaces
- Replace weak bulbs quickly
- Recheck corners after coop changes
Preventing Harsh Light Glare
Harsh glare can spook chickens and make them avoid certain perches, so soften bright bulbs before the coop feels uncomfortable. You can do this by swapping bare LEDs for frosted bulbs, diffusers, or shades that scatter light evenly.
Aim fixtures away from eye level and point them toward walls or ceilings so the coop glows without hot spots. If one area still looks sharp, lower the wattage or add a second, weaker light to spread brightness.
Keep reflective metal, glossy paint, and exposed wiring covers in check, since they can bounce light into your flock’s faces. Walk through the coop at chicken height at dusk, and watch where the light lands.
When you remove glare, your birds settle faster, move more freely, and use every perch confidently.
Managing Light Timing Changes
When daylight shifts with the seasons, your coop lighting schedule needs to adjust too so your flock doesn’t get stressed by sudden changes. Adjust LED timing gradually, adding or removing 15 minutes every few days instead of making big jumps. Use a timer to keep lights consistent, and check dawn and dusk changes weekly.
If you want hens to lay steadily, keep the total light period stable and avoid sudden dark evenings. Watch your birds for restlessness, crowding, or reduced egg output, which can signal a poor adjustment.
- Change light timing slowly
- Use automatic timers
- Match natural daylight patterns
- Monitor flock behavior
- Keep routines steady
Frequently Asked Questions
Can LED Lights Attract Pests to My Chicken Coop?
Yes, LED lights can attract some pests, especially if they’re bright or left on near openings. You can reduce that risk by using warm bulbs, shielding fixtures, and turning lights off when you don’t need them.
Are Red LED Lights Better During Chick Brooding?
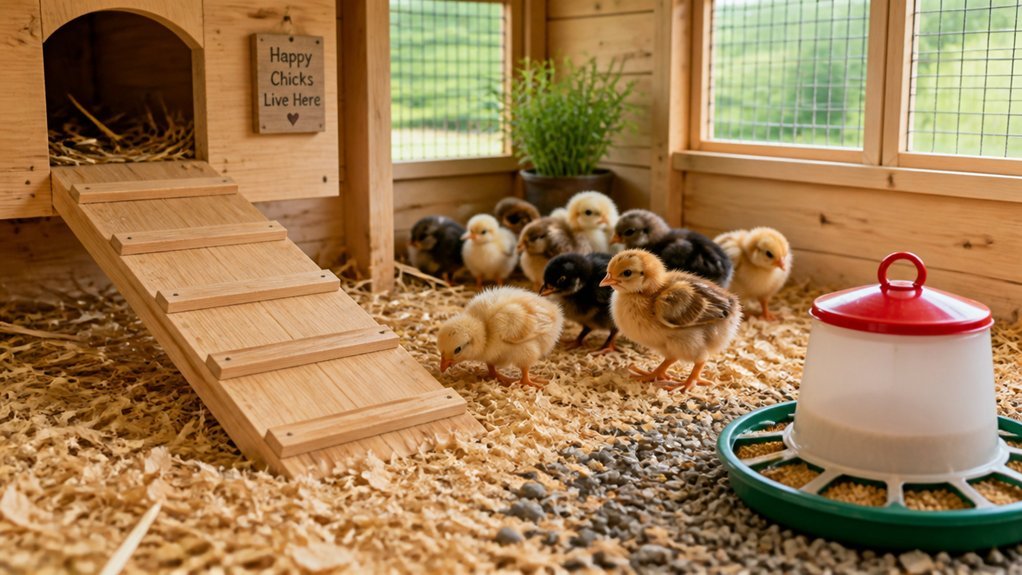
Yes, red LED lights can work better for chick brooding because they’re gentler and less disruptive at night. You’ll still need proper heat, darkness periods, and safe placement to keep chicks healthy and calm.
Can I Use Solar-Powered LEDS in a Chicken Coop?
Yes, you can use solar-powered LEDs in your chicken coop if they provide steady, low-glare light. You’ll need reliable battery backup and weatherproof fixtures, since chickens need consistent lighting and protection from damp conditions.
How Often Should I Replace Coop LED Bulbs?
You should replace coop LED bulbs every 3 to 5 years, or sooner if they dim, flicker, or fail. Check them monthly, and swap any damaged bulbs right away to keep lighting reliable and safe.
Do LEDS Affect Chickens Differently Than Incandescent Bulbs?
Yes—if you choose LEDs with the same brightness and warm color, you’ll usually see little difference. You should avoid harsh, blue-white light, because it can stress chickens more than soft incandescent-style lighting.
In Summary
Using LED lighting in your chicken coop can help you support egg laying, create a safer routine, and keep energy costs low. Choose the right color and brightness, then stick to a consistent schedule that gives your chickens enough rest. Be careful not to overlight the coop, and keep your bulbs clean for the best results. With the right setup, you can make coop lighting simple, efficient, and effective for your flock.