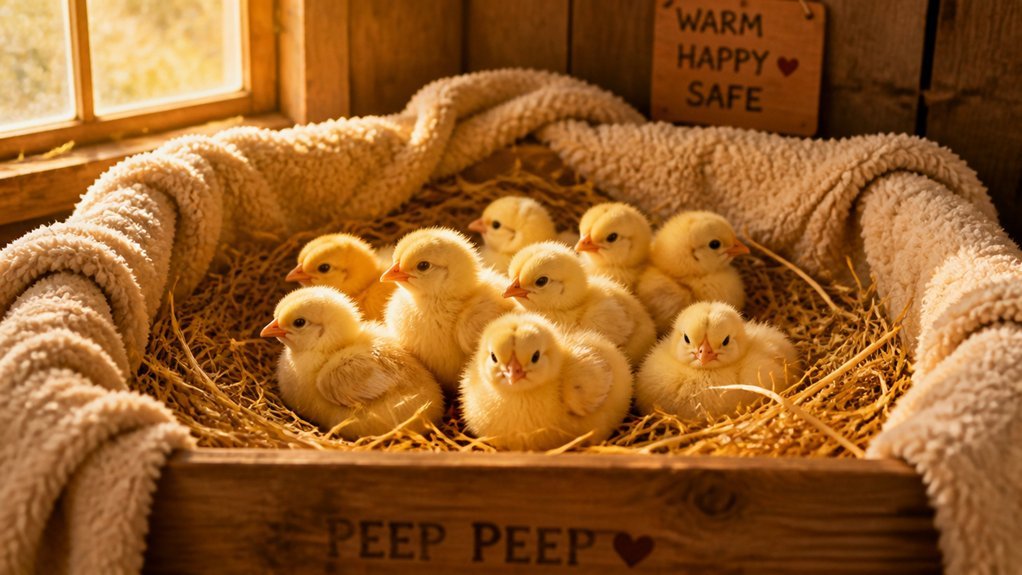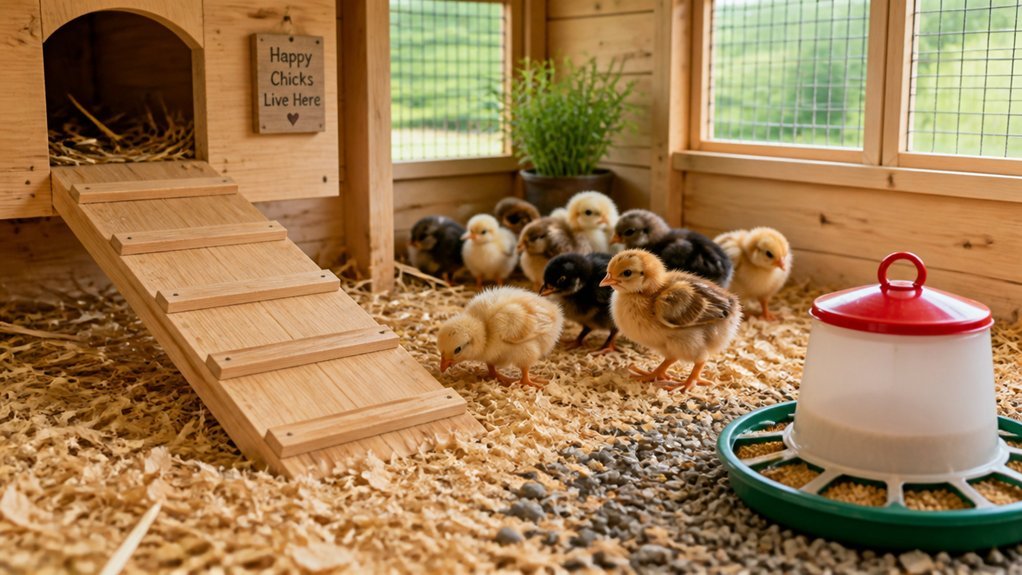
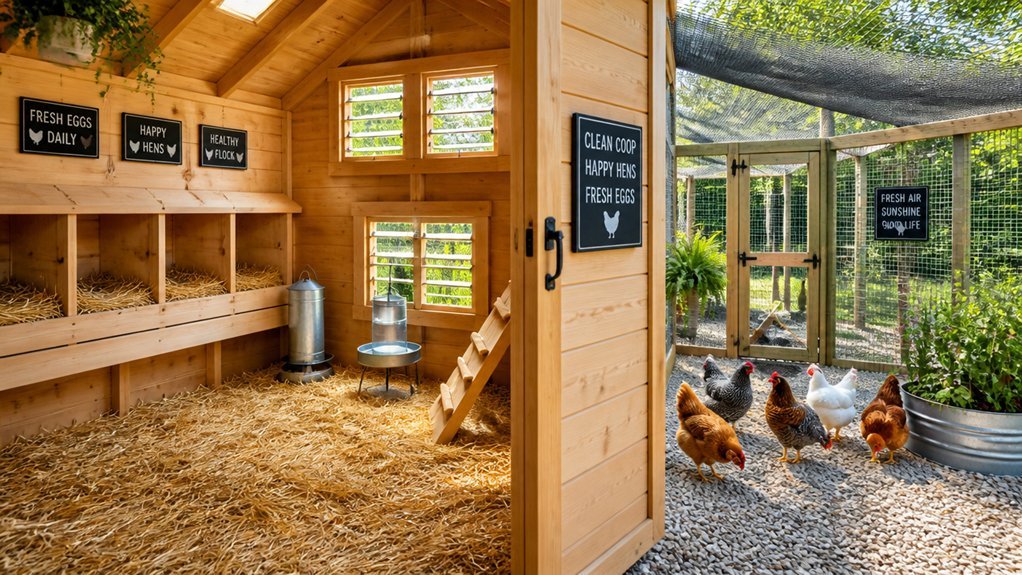
Set your brooding chicken coop in a warm, dry, level spot with good drainage, shade, and easy access to water and power. Use a safe heat source, start around 95°F, and lower it each week. Choose absorbent bedding, keep feeders and waterers low and stable, and add high vents for fresh air without drafts. Clean daily, store feed securely, and block pests and predators. Get these basics right, and the rest gets even easier.
Choose the Right Brooding Chicken Coop Location

Choose a brooding chicken coop location that stays warm, dry, and protected from drafts, because chicks need a stable environment to thrive. You should place the coop on level ground so bedding stays even and water doesn’t pool inside.
Pick a spot with good drainage and easy access, so you can clean, feed, and check your chicks without hassle. Keep the area away from noisy machinery, predators, and heavy foot traffic to reduce stress.
If possible, choose a location with some natural shade and sunlight, since both help you manage temperature and moisture. Make sure electricity and water are nearby if you need them.
When you plan carefully, you create a safer, healthier start for your chicks and make daily care much easier.
Set Up Safe Heat for Brooding Chicks
You’ll need a heat source that stays secure, won’t tip, and keeps cords out of reach.
Place the brooder so you can monitor the temperature easily and adjust it as chicks grow.
Aim for steady warmth, since proper temperature control helps them stay active, healthy, and comfortable.
Using a radiant heat source like a brooder heating plate creates a safe, consistent environment for the chicks.
Heat Source Safety
Keep brooding chicks warm with a heat source that’s safe, stable, and easy to monitor. Choose a brooder lamp with a guard, a secure clamp, and a cord that won’t dangle where chicks can peck it.
Keep bedding, feed bags, and loose straw well away from the bulb. If you use a radiant panel, mount it firmly so it can’t tip or slide. Check plugs, sockets, and cords before each use for wear, cracks, or heat damage.
Proper heat output control ensures maintaining safe temperatures and preventing overheating.
- Hang heat equipment above traffic areas.
- Shield bulbs with metal, not plastic.
- Fasten cords along walls, out of reach.
- Unplug and cool equipment before adjusting anything.
Temperature Control Basics
Start brooding at about 95°F in the first week, then lower the temperature by about 5°F each week until the chicks are fully feathered. You should watch chick behavior, not just the thermometer. If they huddle, they’re too cold; if they spread far from the heat, they’re too warm. Keep the lamp or heater at one end so chicks can choose comfort. Use this guide:
| Sign | Action |
|---|---|
| Chicks pile up | Increase heat |
| Chicks pant | Reduce heat |
| Evenly spaced | Keep settings |
| Quiet activity | Temperature’s right |
| Feather growth | Lower heat gradually |
Check the brooder twice daily, and adjust a few degrees at a time. Consistent warmth helps chicks eat, drink, and grow without stress. Ensuring your safety features are functioning correctly will prevent overheating or underheating, supporting healthy development.
Pick Bedding That Keeps Chicks Dry
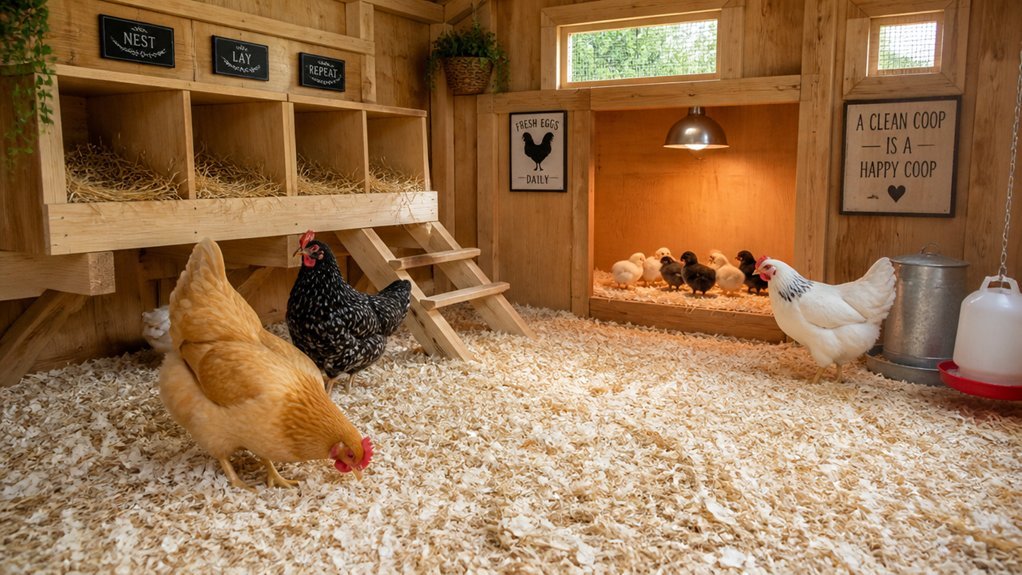
Choose absorbent bedding like pine shavings or chopped straw to help keep your chicks dry and comfortable. Skip damp materials, since they can chill chicks and raise the risk of illness. Check the bedding often and replace any wet spots right away. Proper moisture control in bedding also prevents ammonia buildup and keeps the brooder environment healthy.
Absorbent Bedding Choices
Dry bedding is one of the simplest ways to help chicks stay healthy in a brooder, because damp litter can quickly lead to chilling, odor, and messy feet.
You’ll want bedding that soaks up moisture fast and gives chicks a soft, stable surface. Choose materials that you can refresh easily, and keep a close eye on the brooder floor each day.
- Pine shavings: They absorb well and stay fluffy under tiny feet.
- Straw pellets: They break down moisture and cut down on tracking.
- Paper-based bedding: It’s lightweight, clean-looking, and easy to replace.
- Hemp bedding: It handles spills well and helps the brooder feel tidy.
- Using bedding with high absorbency helps maintain a dry environment and reduces the risk of illness.
Whatever you pick, spread it evenly and fluff it often so your chicks can move comfortably and stay dry.
Avoid Damp Materials
Wet bedding can cool chicks down fast, so you’ll want to steer clear of anything that holds moisture or gets soggy quickly. Skip damp hay, fresh grass clippings, and fluffy materials that mat down after a spill.
You need bedding that stays loose, airy, and dry under tiny feet, because wet spots encourage chilling and make the brooder uncomfortable. Choose a material that won’t clump when water splashes out of the feeder or when chicks track in mess.
Keep an eye on anything that feels cool or heavy to the touch, since that usually means it’s trapped moisture. When you start with dry, stable bedding, you help chicks stay warm, active, and ready to eat, drink, and grow without extra stress. Incorporating a breathable brooder setup with mesh panels or tops can also improve airflow and reduce condensation inside the enclosure.
Replace Wet Bedding
Even the best bedding can turn soggy, so replace any wet patches as soon as you spot them. Check the brooder twice a day, especially around waterers, and scoop out damp spots before they spread. Using low-dust hemp bedding can help minimize airborne particles and keep the environment cleaner. Fresh bedding helps your chicks stay warm, dry, and healthy, and it keeps odors down too. Use absorbent material that won’t cake fast, such as pine shavings or chopped straw.
- Lift wet bedding with a small shovel.
- Add a dry layer right away.
- Keep water dishes low-spill and stable.
- Toss out soaked bedding outside the coop.
If you notice frequent moisture, reduce crowding and fix leaks. Dry bedding gives your chicks a cleaner start and makes your daily cleanup easier.
Place Feeders and Waterers for Easy Access
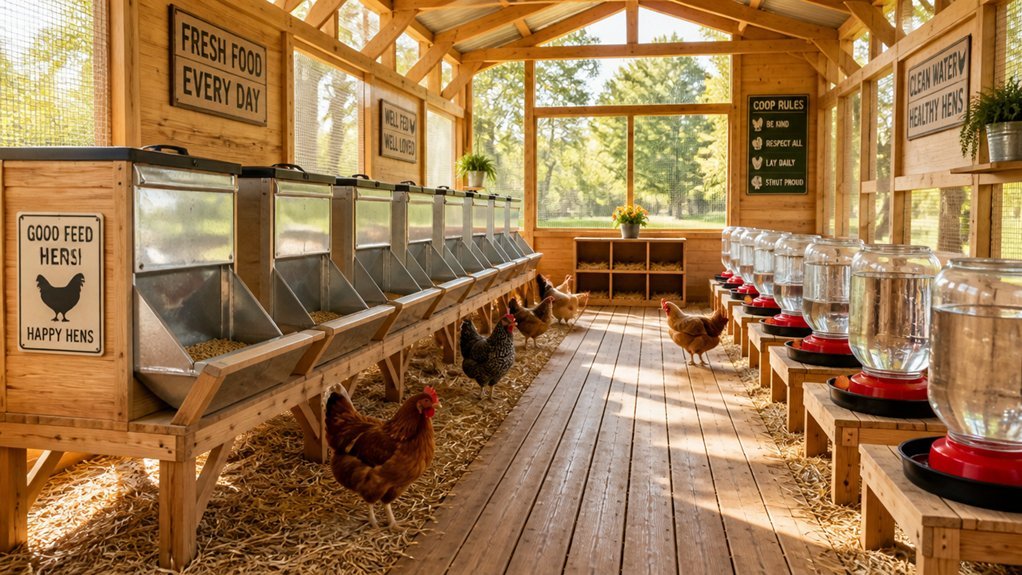
Place feeders and waterers where chicks can reach them easily without crowding or trampling the brooder. Set them on low blocks or shallow trays so they stay stable and the smallest chicks can eat and drink without strain. Keep the dishes close enough that every chick can find them, but spread them out if you notice pushing or pecking. Check them several times a day and adjust the height as the chicks grow. Use containers that limit spills and keep feed dry, since wet feed spoils fast and wastes money. Refresh water often so it stays clean and inviting. Choosing waterers with light-blocking design helps reduce algae growth and keeps the water clearer longer. If you place everything thoughtfully, you’ll reduce stress, support steady growth, and help every chick get its share.
Ventilate the Coop Without Drafts
You should place high vents near the top of the coop so warm, damp air can escape. A properly sized fan can further enhance airflow and prevent stagnant, humid conditions. This setup helps you keep fresh air moving without sending cold drafts across the chicks. With good vent placement, you’ll support clean, healthy airflow while keeping the brooding area cozy.
High Vents Placement
To keep a brooding coop healthy, install high vents near the roofline so warm, moist air can escape without chilling the chicks below. You’ll want openings on opposite upper walls to let stale air rise out naturally while fresh air enters gently. Keep the vents above chick level, and screen them to block pests and debris. Check them daily for condensation, dust, or cobwebs that can trap moisture. If you use adjustable covers, open them enough for steady exchange, then fine-tune as temperatures change. Ensuring proper ventilation and airflow helps prevent respiratory issues and reduces ammonia buildup in the coop.
Draft-Free Airflow
Even with good ventilation, you need to keep moving air off the chicks’ level so the coop stays fresh without becoming drafty. Set intake openings high and let warm, stale air exit above the brood zone. You can crack a window, use screened vents, or add a small fan aimed upward, not at the birds. Check for chill spots at chick height, especially at night.
| Area | What you want | Why it matters |
|---|---|---|
| Upper vents | Open, screened | Freshens air |
| Chick level | Still, warm | Protects health |
| Fan flow | Indirect, gentle | Prevents chilling |
If litter smells sharp or moisture builds, increase airflow a little. If chicks huddle and peep loudly, reduce drafts fast. Balance matters most.
Adjust Brooder Temperature as Chicks Grow
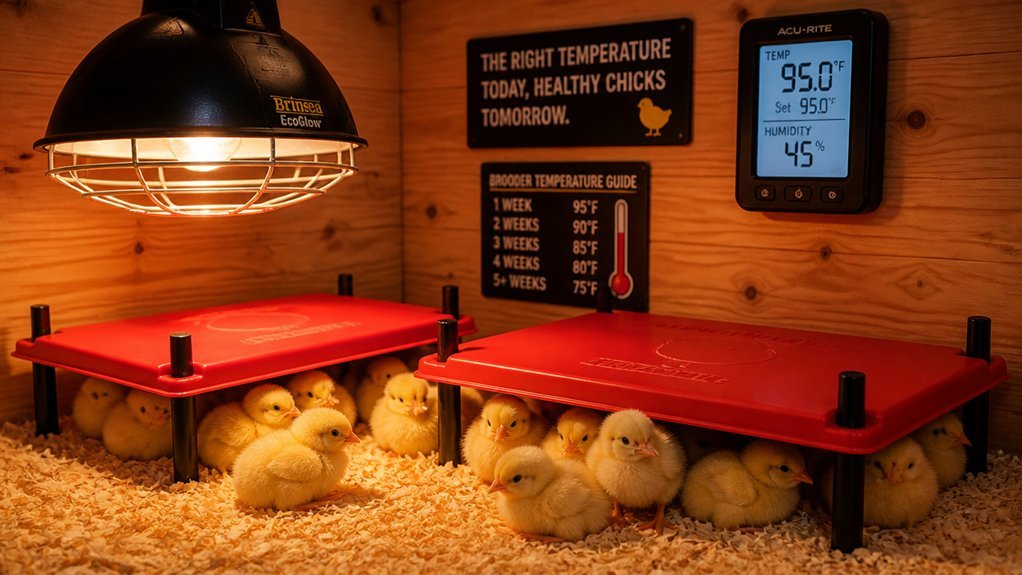
As chicks grow, gradually lower the brooder temperature so they stay warm without overheating. Start around 95°F in week one, then reduce it by about 5°F each week.
Start around 95°F in week one, then reduce the brooder temperature by about 5°F each week.
Watch their behavior: if they huddle tightly, raise the heat; if they pant or spread far from the lamp, lower it. Use a reliable thermometer at chick level, not just your hand, to check accuracy.
- Keep the heat source centered for even warmth.
- Raise or lower the lamp slowly, not all at once.
- Check chicks morning and evening for comfort.
- Remove extra heat when they’re fully feathered.
You’ll help them grow strong, active, and comfortable with steady adjustments.
Set the Right Light Schedule for Chicks
A consistent light schedule helps chicks eat, drink, and rest on a healthy routine. You should keep the brooder lit for about 16 hours each day during the first week so chicks can find feed and water easily.
After that, you can gradually reduce light to 12 to 14 hours as they grow, which helps them settle into a natural rhythm. Use a warm, steady bulb that gives enough brightness without making the coop harsh or stressful.
At night, give them darkness so they can sleep properly and stay calm. If you use a timer, you’ll avoid sudden changes and keep the schedule consistent.
Watch your chicks closely; if they crowd under the light, they may need more warmth or light, not both.
Keep the Brooding Coop Clean
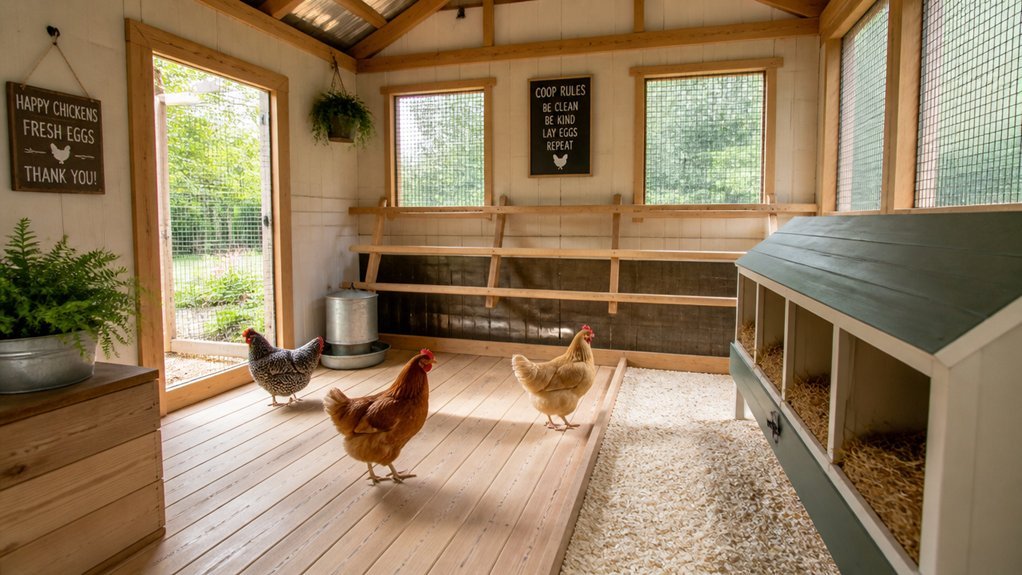
Keeping the brooding coop clean helps chicks stay healthy and lowers the risk of disease.
You should remove wet bedding every day, then replace it with fresh, dry material so the floor stays comfortable. Wipe down feeders and waterers often, since spilled feed and moisture can build up fast.
Keep the brooder area tidy by checking corners, edges, and under equipment for messes you might miss.
- Scoop out soiled bedding before it packs down.
- Refresh shavings or straw regularly.
- Clean dishes with warm water and mild soap.
- Sweep away crumbs and droppings after each check.
A clean setup also makes your daily chores easier and helps you spot problems quickly. Stay consistent, and your chicks will have a healthier start.
Keep Pests, Predators, and Disease Out
Seal the brooding coop against pests, predators, and disease so your chicks stay safe and healthy. You should patch gaps, secure latches, and cover vents with hardware cloth. Keep feed in sealed containers, because spilled grain attracts mice and insects fast. Remove damp bedding quickly, and wash waterers daily to limit bacteria. Quarantine any new bird before it joins your flock, and wash your hands after handling sick chicks.
| Threat | What you do | Why it helps |
|---|---|---|
| Mice | Store feed tightly | Cuts contamination |
| Flies | Clean spills daily | Reduces breeding |
| Cats | Lock doors | Prevents attacks |
| Germs | Sanitize surfaces | Limits spread |
Check the coop each morning for droppings, gnaw marks, or weak spots.
Move Chicks Out of the Brooder
When your chicks are fully feathered and the coop is warm enough, you can start moving them out of the brooder. Check the weather first, and choose a calm day so the change feels less stressful.
When chicks are fully feathered and the coop is warm, move them on a calm day for a gentler transition.
Let them spend time in the coop during daylight before their first night there.
- Place fresh bedding in the coop.
- Set out feed and clean water.
- Make sure roosts are low and safe.
- Watch them closely for the first few days.
You’ll know they’re adjusting well if they explore, eat, drink, and settle in without huddling.
If they seem chilled, bring them back inside or add extra heat.
Move them gradually, and you’ll help them grow into confident flock members.
Frequently Asked Questions
How Many Chicks Can I Brood in One Coop?
You can brood about 25 chicks per square foot for the first week, then you’ll need to expand space as they grow. Keep them comfortable, dry, and uncrowded to prevent stress and pecking.
When Should I Start Preparing the Brooder Before Chicks Arrive?
Start preparing the brooder at least a week before chicks arrive, so you can clean, disinfect, test heat, and adjust bedding. You’ll avoid last-minute problems and give them a safe, warm start.
What Supplies Should I Keep on Hand for Emergencies?
Keep spare heat lamps, bulbs, bedding, feeders, waterers, electrolytes, chick feed, a thermometer, first-aid supplies, gloves, and backup power. You’ll handle outages, illness, or spills faster if you’ve stocked these essentials beforehand.
How Do I Quarantine New Chicks Before Brooding Them?
You quarantine new chicks by keeping them separate in a clean, warm space for 2 weeks, watching for sneezing, diarrhea, or weakness. You’ll limit contact, wash hands, and use dedicated feeders, waterers, and bedding.
Can I Brood Different Ages of Chicks Together?
You can, but you shouldn’t. Older chicks can outcompete or injure younger ones, and different heat needs complicate care. Keep ages separate until they’re similar in size, feathering, and behavior for safety.
In Summary
With the right brooding chicken coop setup, you give your chicks a safe, warm, and healthy start. Choose a good location, manage heat and light, and keep bedding, food, and water clean and easy to reach. Stay on top of ventilation, sanitation, and biosecurity so your chicks can grow strong. When they’re ready, move them out of the brooder with confidence and enjoy watching your flock thrive.